Restoration Services
Here is a complete description of the work I perform on each toaster:
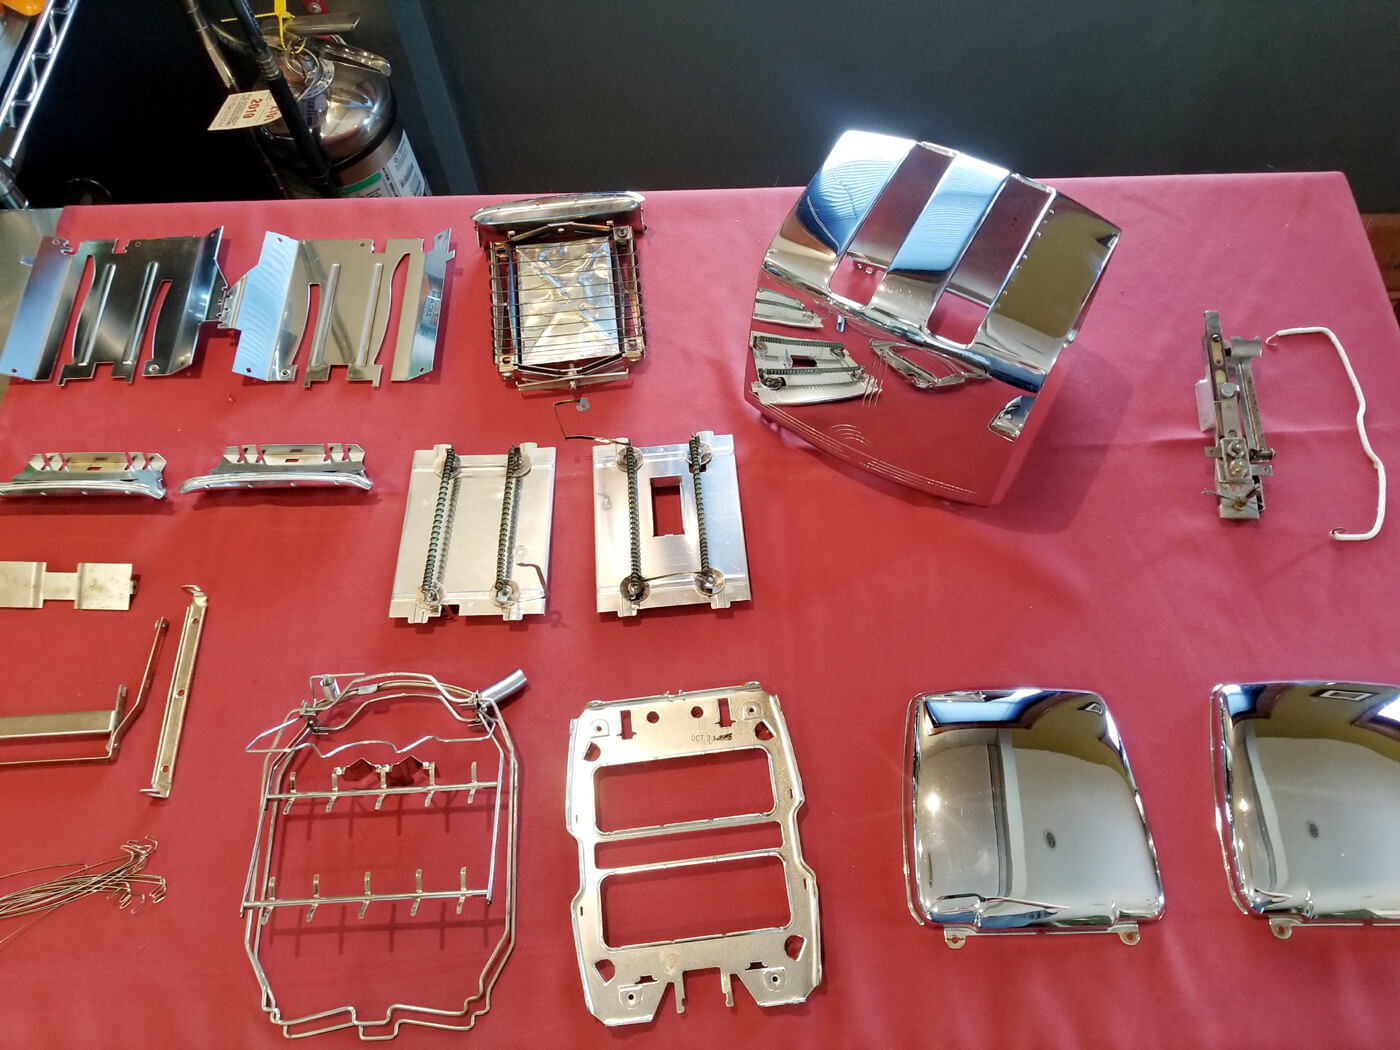
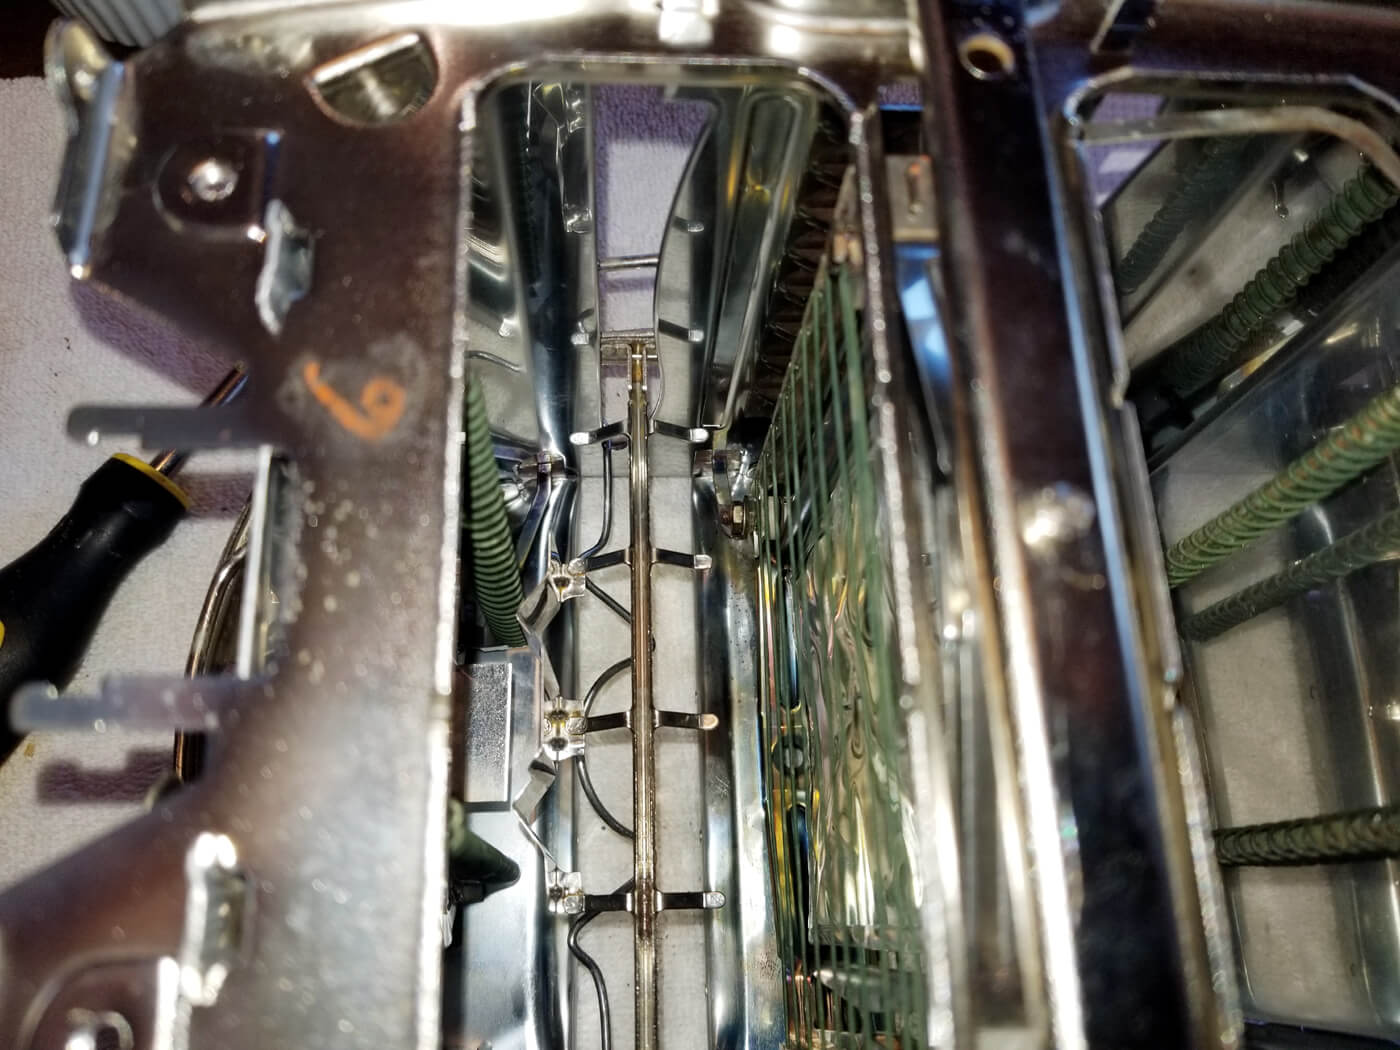
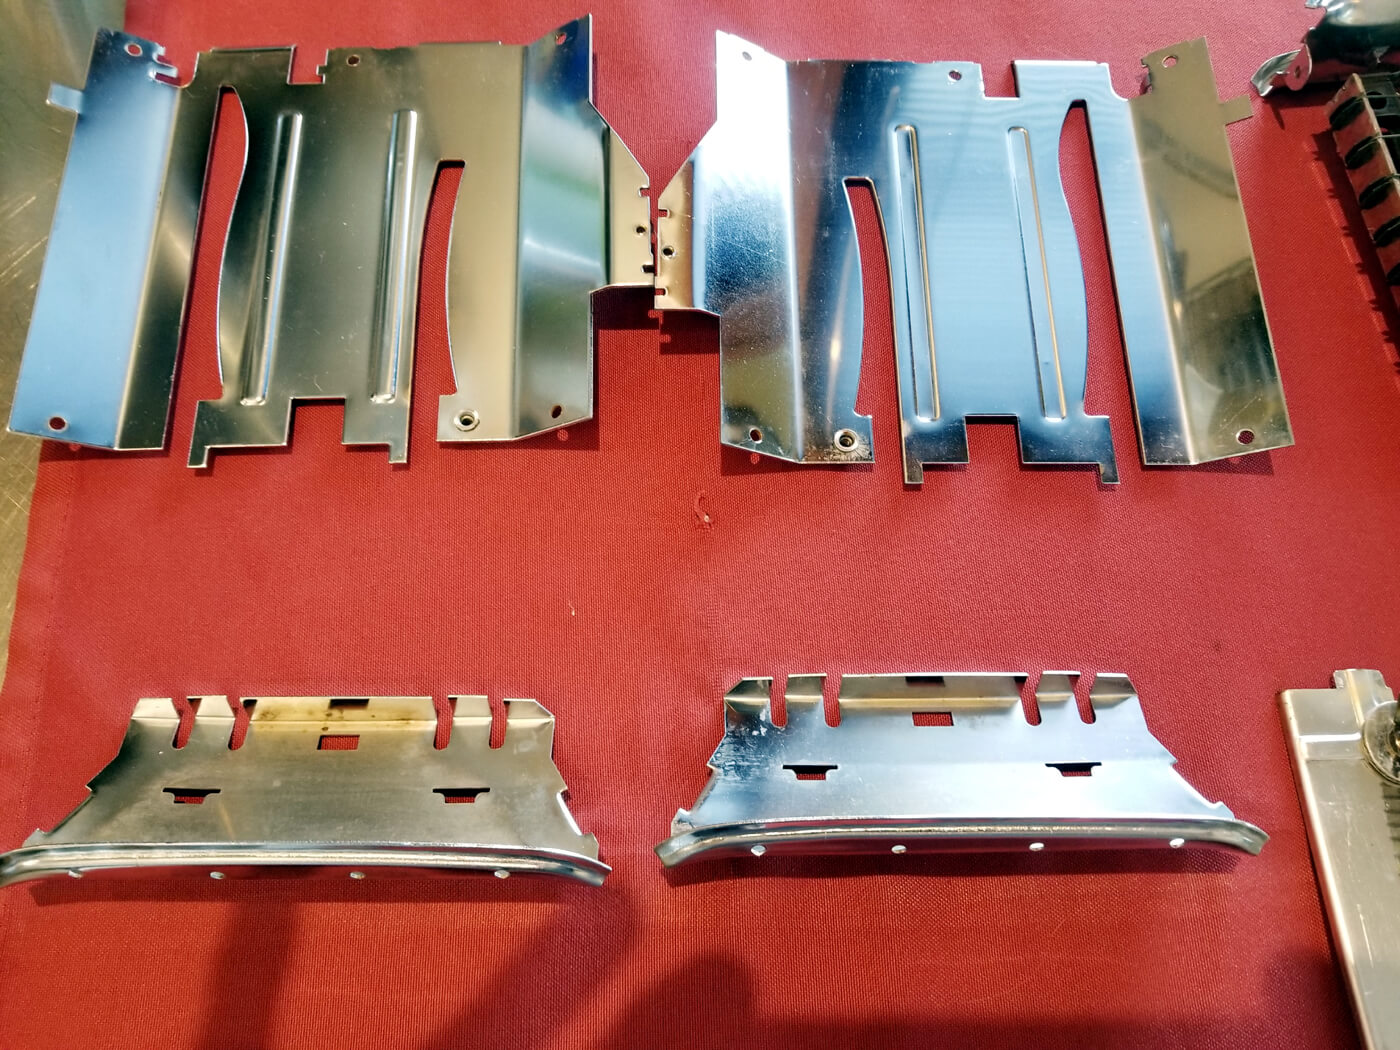
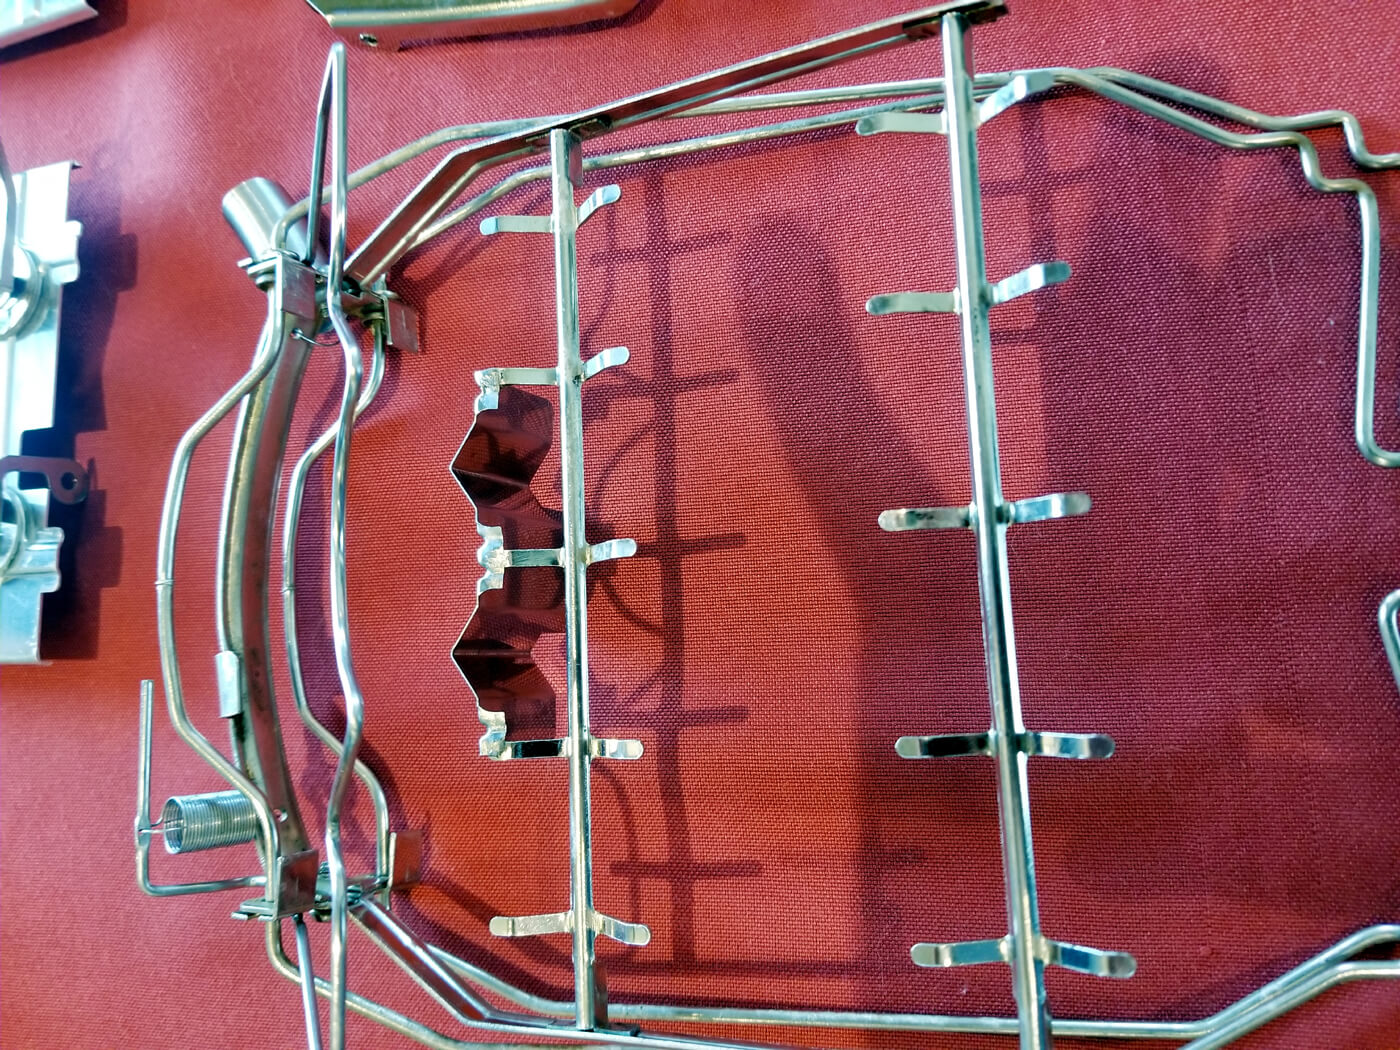
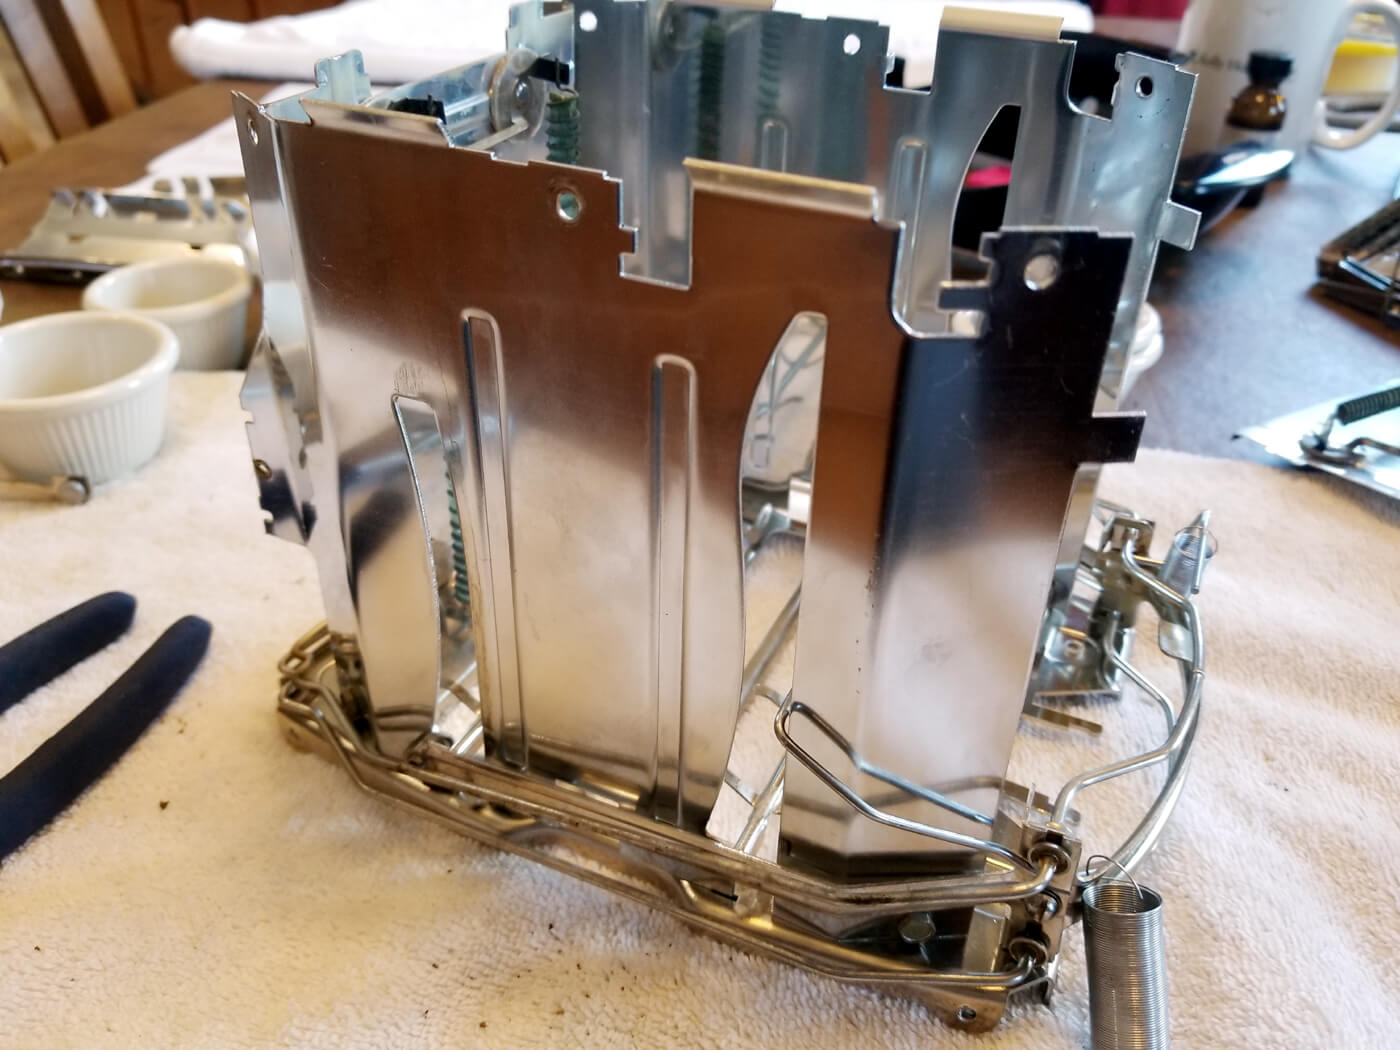
The toaster is completely disassembled.
Metal parts are cleaned with oven cleaner.
All metal parts, chrome pieces, and the Bakelite base are then put through a genuine Hobart-made KitchenAid KDS-18 dishwasher on Pots/Pans Soak and Scrub cycle. This makes them shine as if they were just manufactured. I don’t use any type of scouring product on the chrome pieces.
PLEASE… if you have one of these toasters, do not use scouring powder or scouring pads on the chrome plating.
All three heating elements are carefully cleaned for maximum heat reflection.
The bread carriage receives special attention so all baked-on soil is removed from every nook and cranny.
CHROME PLATING: All chrome-plated surfaces and the Bakelite base are polished with a professional buffer and the appropriate jeweler’s rouge to achieve the maximum shine of the chrome plating and base.
6a. POWDER COATING: When the chrome plating is worn and pitted, I have the clam shell cover and end caps professionally powder coated. The powder coating can withstand temperatures of over 400 degrees. Again, the Bakelite base has been polished with a professional Eastwood buffer and the appropriate jeweler’s rouge designed for plastic surfaces.
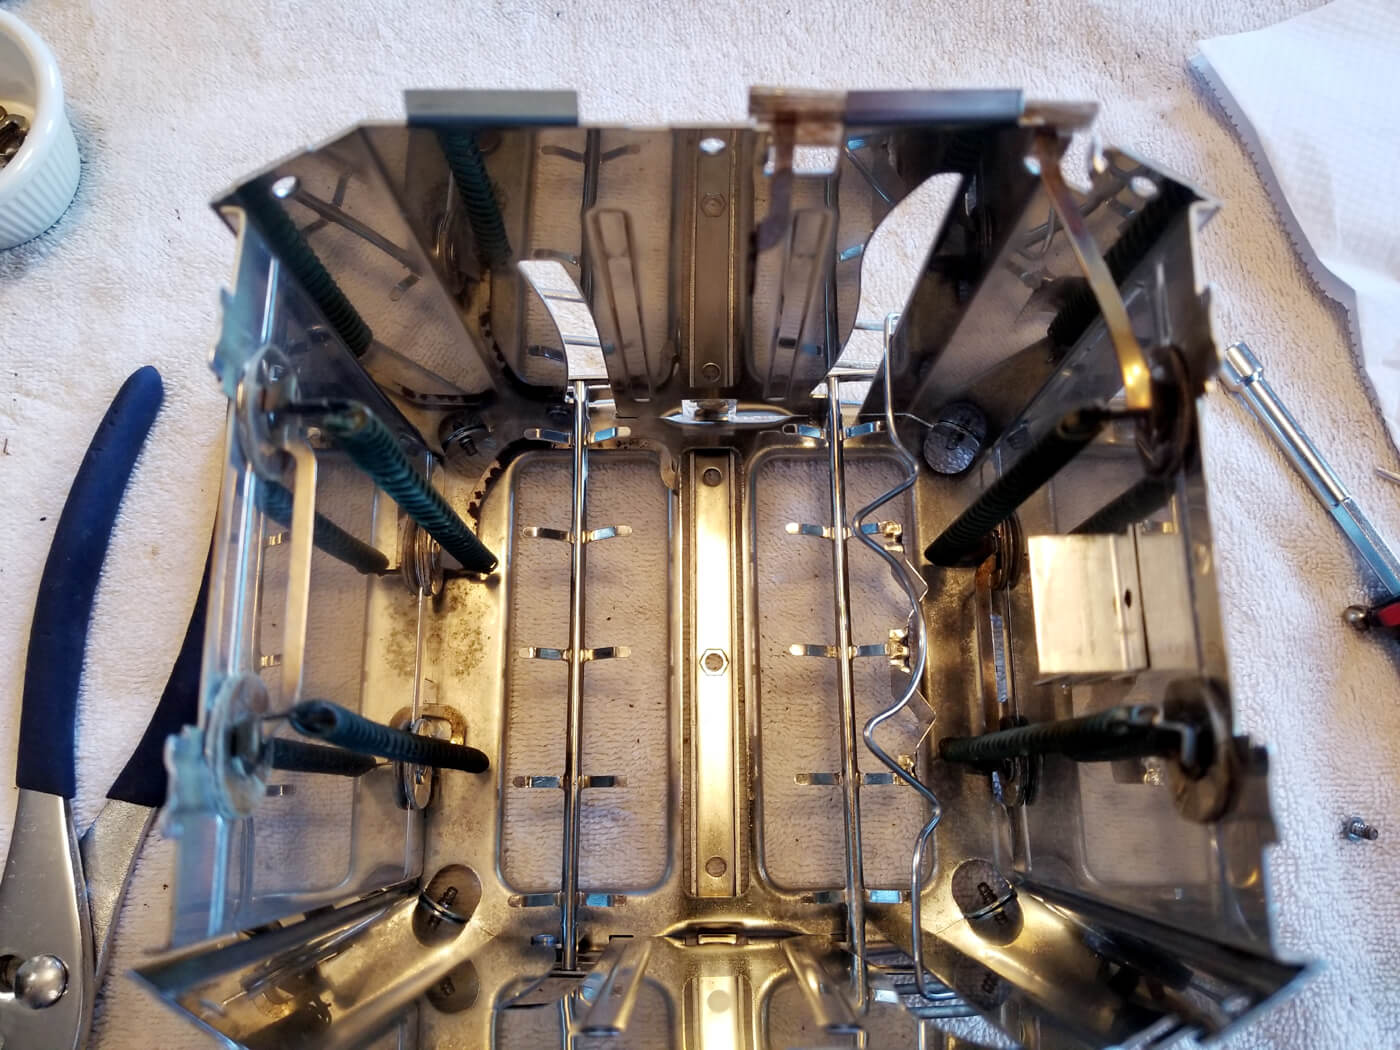
NEW ADDITIONAL PROCESS: I now paint (with high temperature paint) the inside of the chrome ends (if toaster is powder coated, they are also coated on the inside so no painting is needed) and clam shell cover because of rust (see picture). When the bread is toasted, moisture from the toasting process is trapped between the mechanism and the covers. This will keep the covers from rusting and causing the chrome to pit. Only if needed, the base frame plate is painted on the toasting side as well as the inside crumb tray and “pans” with high temperature ceramic spray paint and cured at 400 degrees (see pictures).
The debossed “Sunbeam” logo on each end of the Bakelite base, as well as the engraved words “Lighter/Darker” on the small control knob are restored.
The toaster is reassembled.
The cord is replaced. See “Why Replace the Cord”.
The spring tension on the bread carriage is adjusted for optimal lowering and raising of the bread. If the spring is too tight, it won?t raise efficiently; if too loose, the toaster will not operate correctly when the bread is dropped into the toaster. There is a fine balance.
The final adjustment is to fine-tune the thermostat. I work diligently (with lots of test slices of bread) to adjust the toaster to produce what I think medium toast should look like. As you can see in the picture, I clean the thermostat thoroughly and then polish all debris off of the unit with a Dremel. I then polish the contacts that actually activate the toaster and then install the thermostat in the spotlessly cleaned housing.
Once the toaster is fully reassembled, it is hand polished one final time with chrome polish and wax.
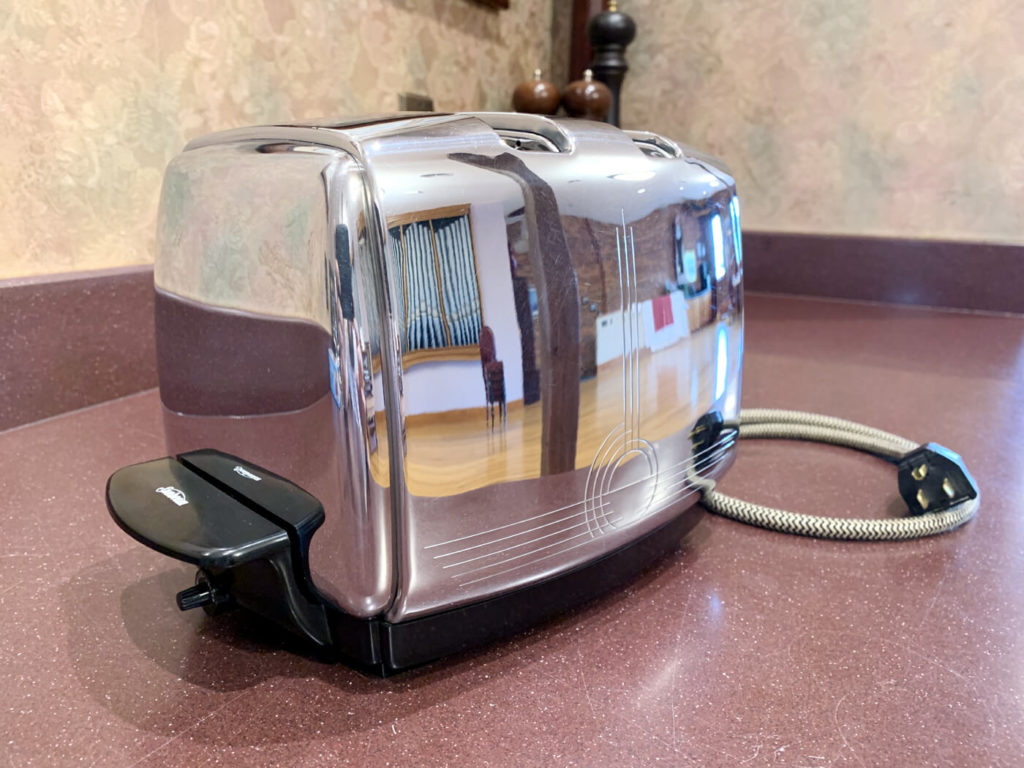
Before


After
Why Replace the Cord?
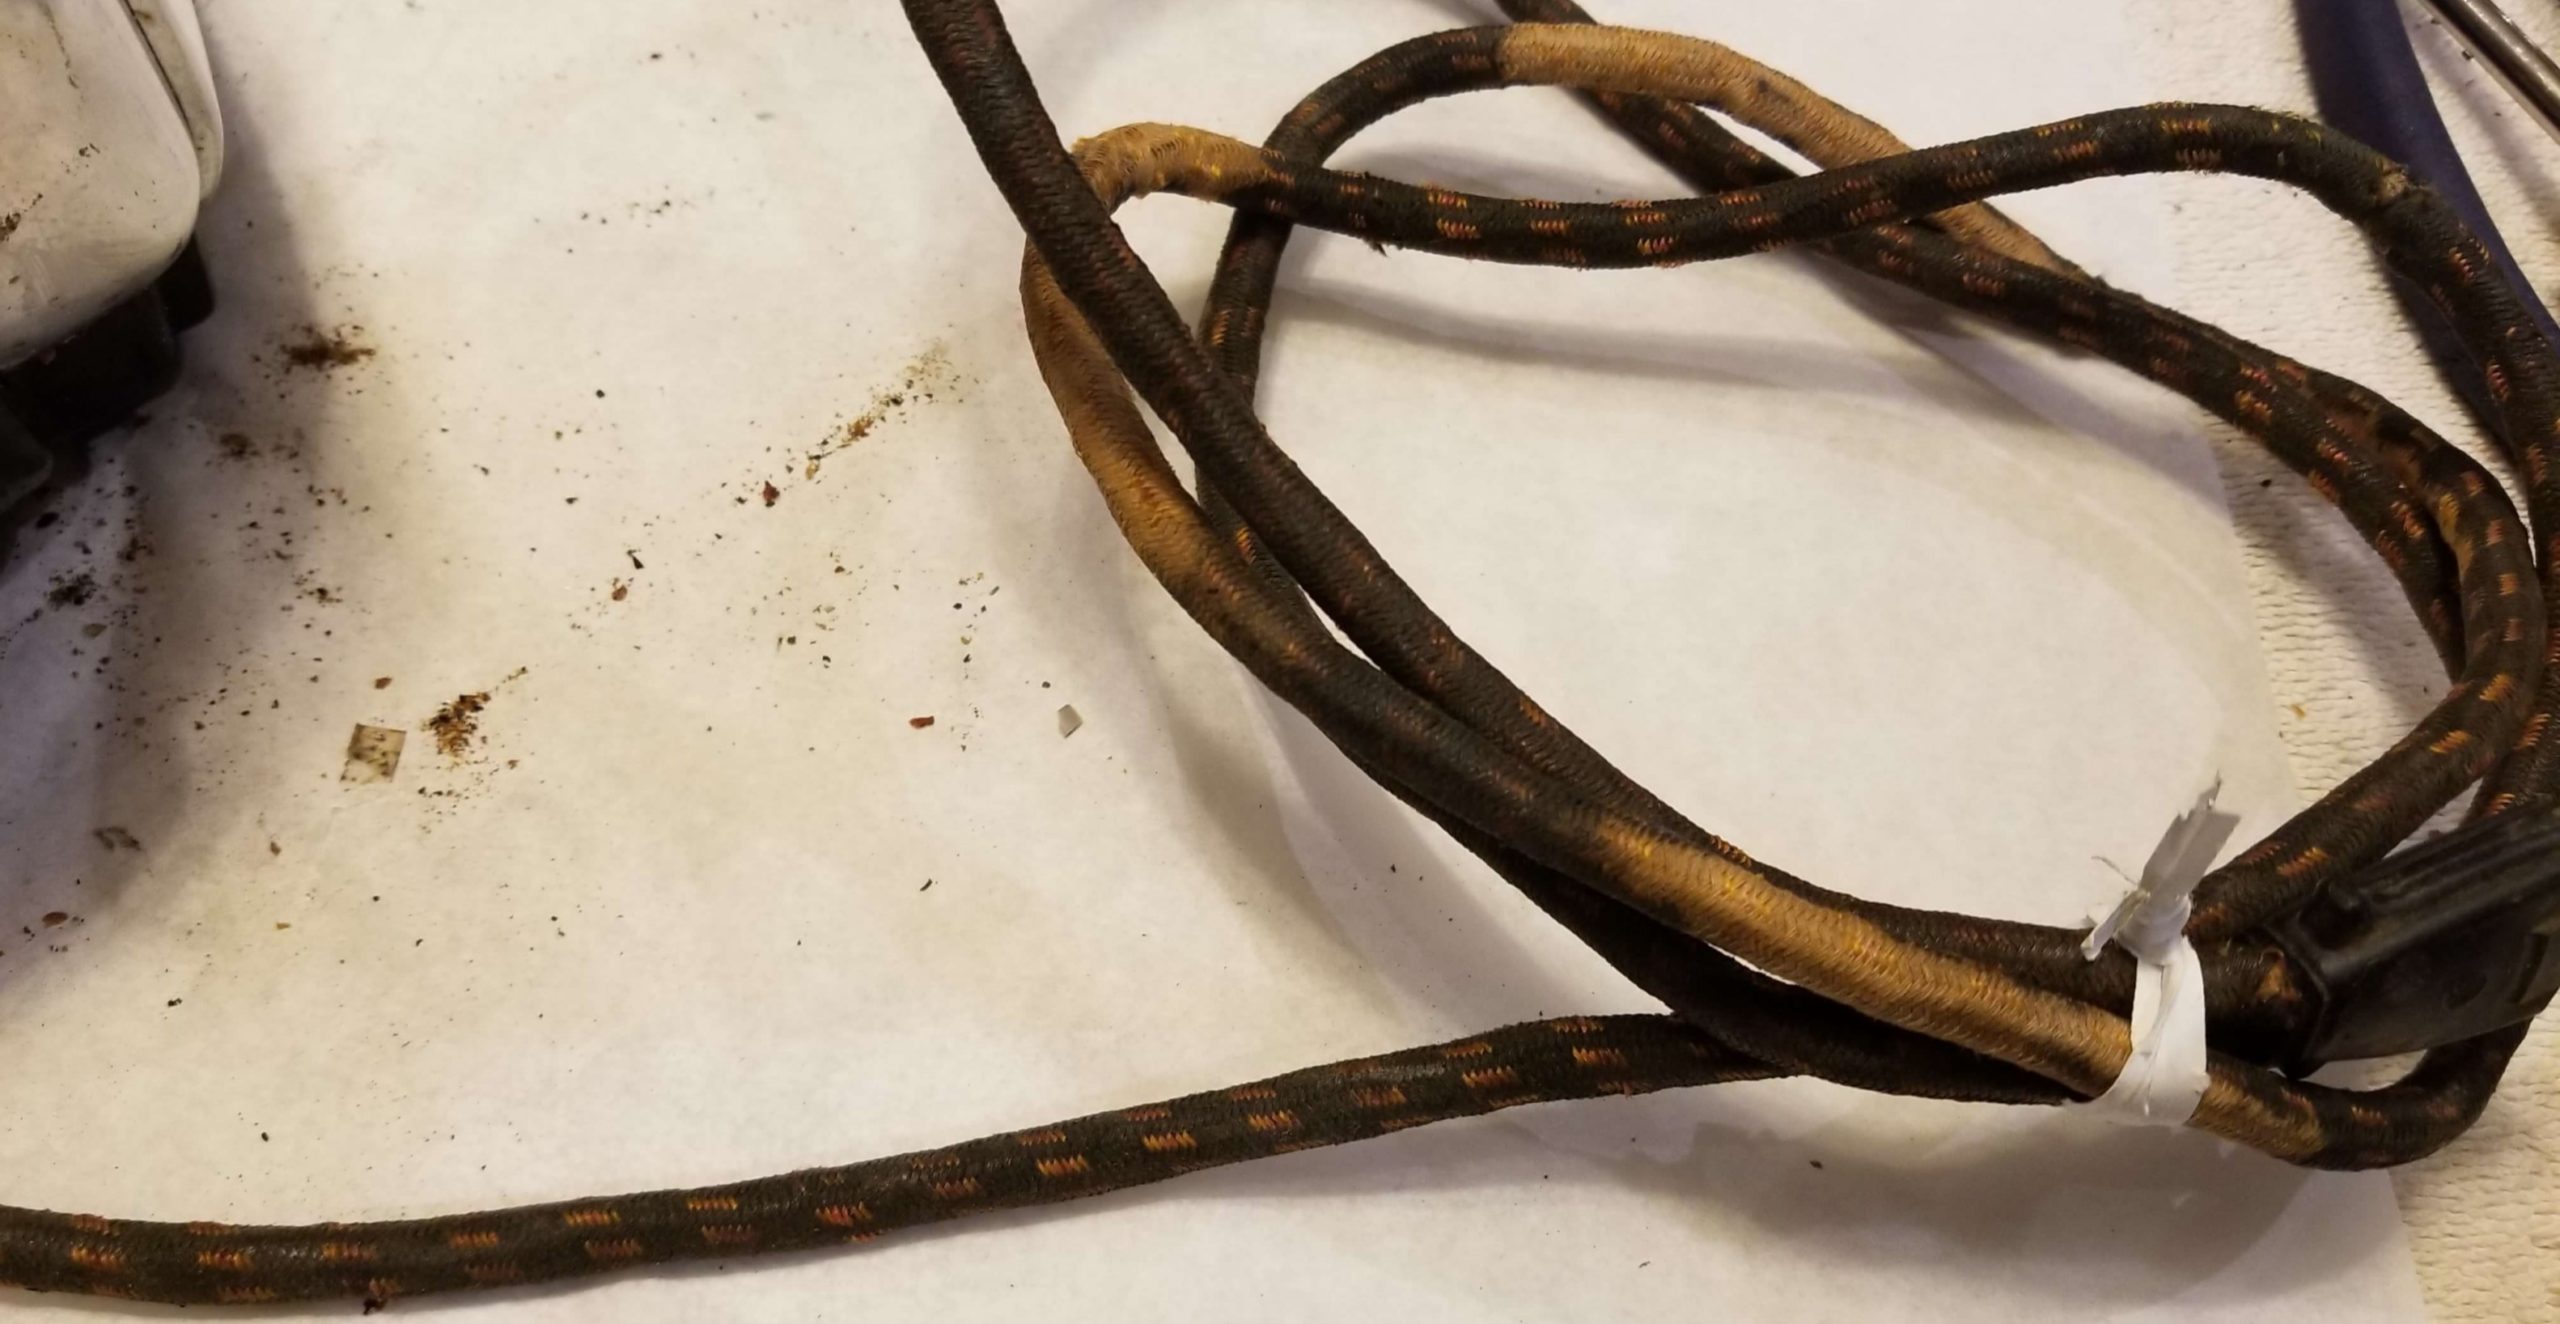
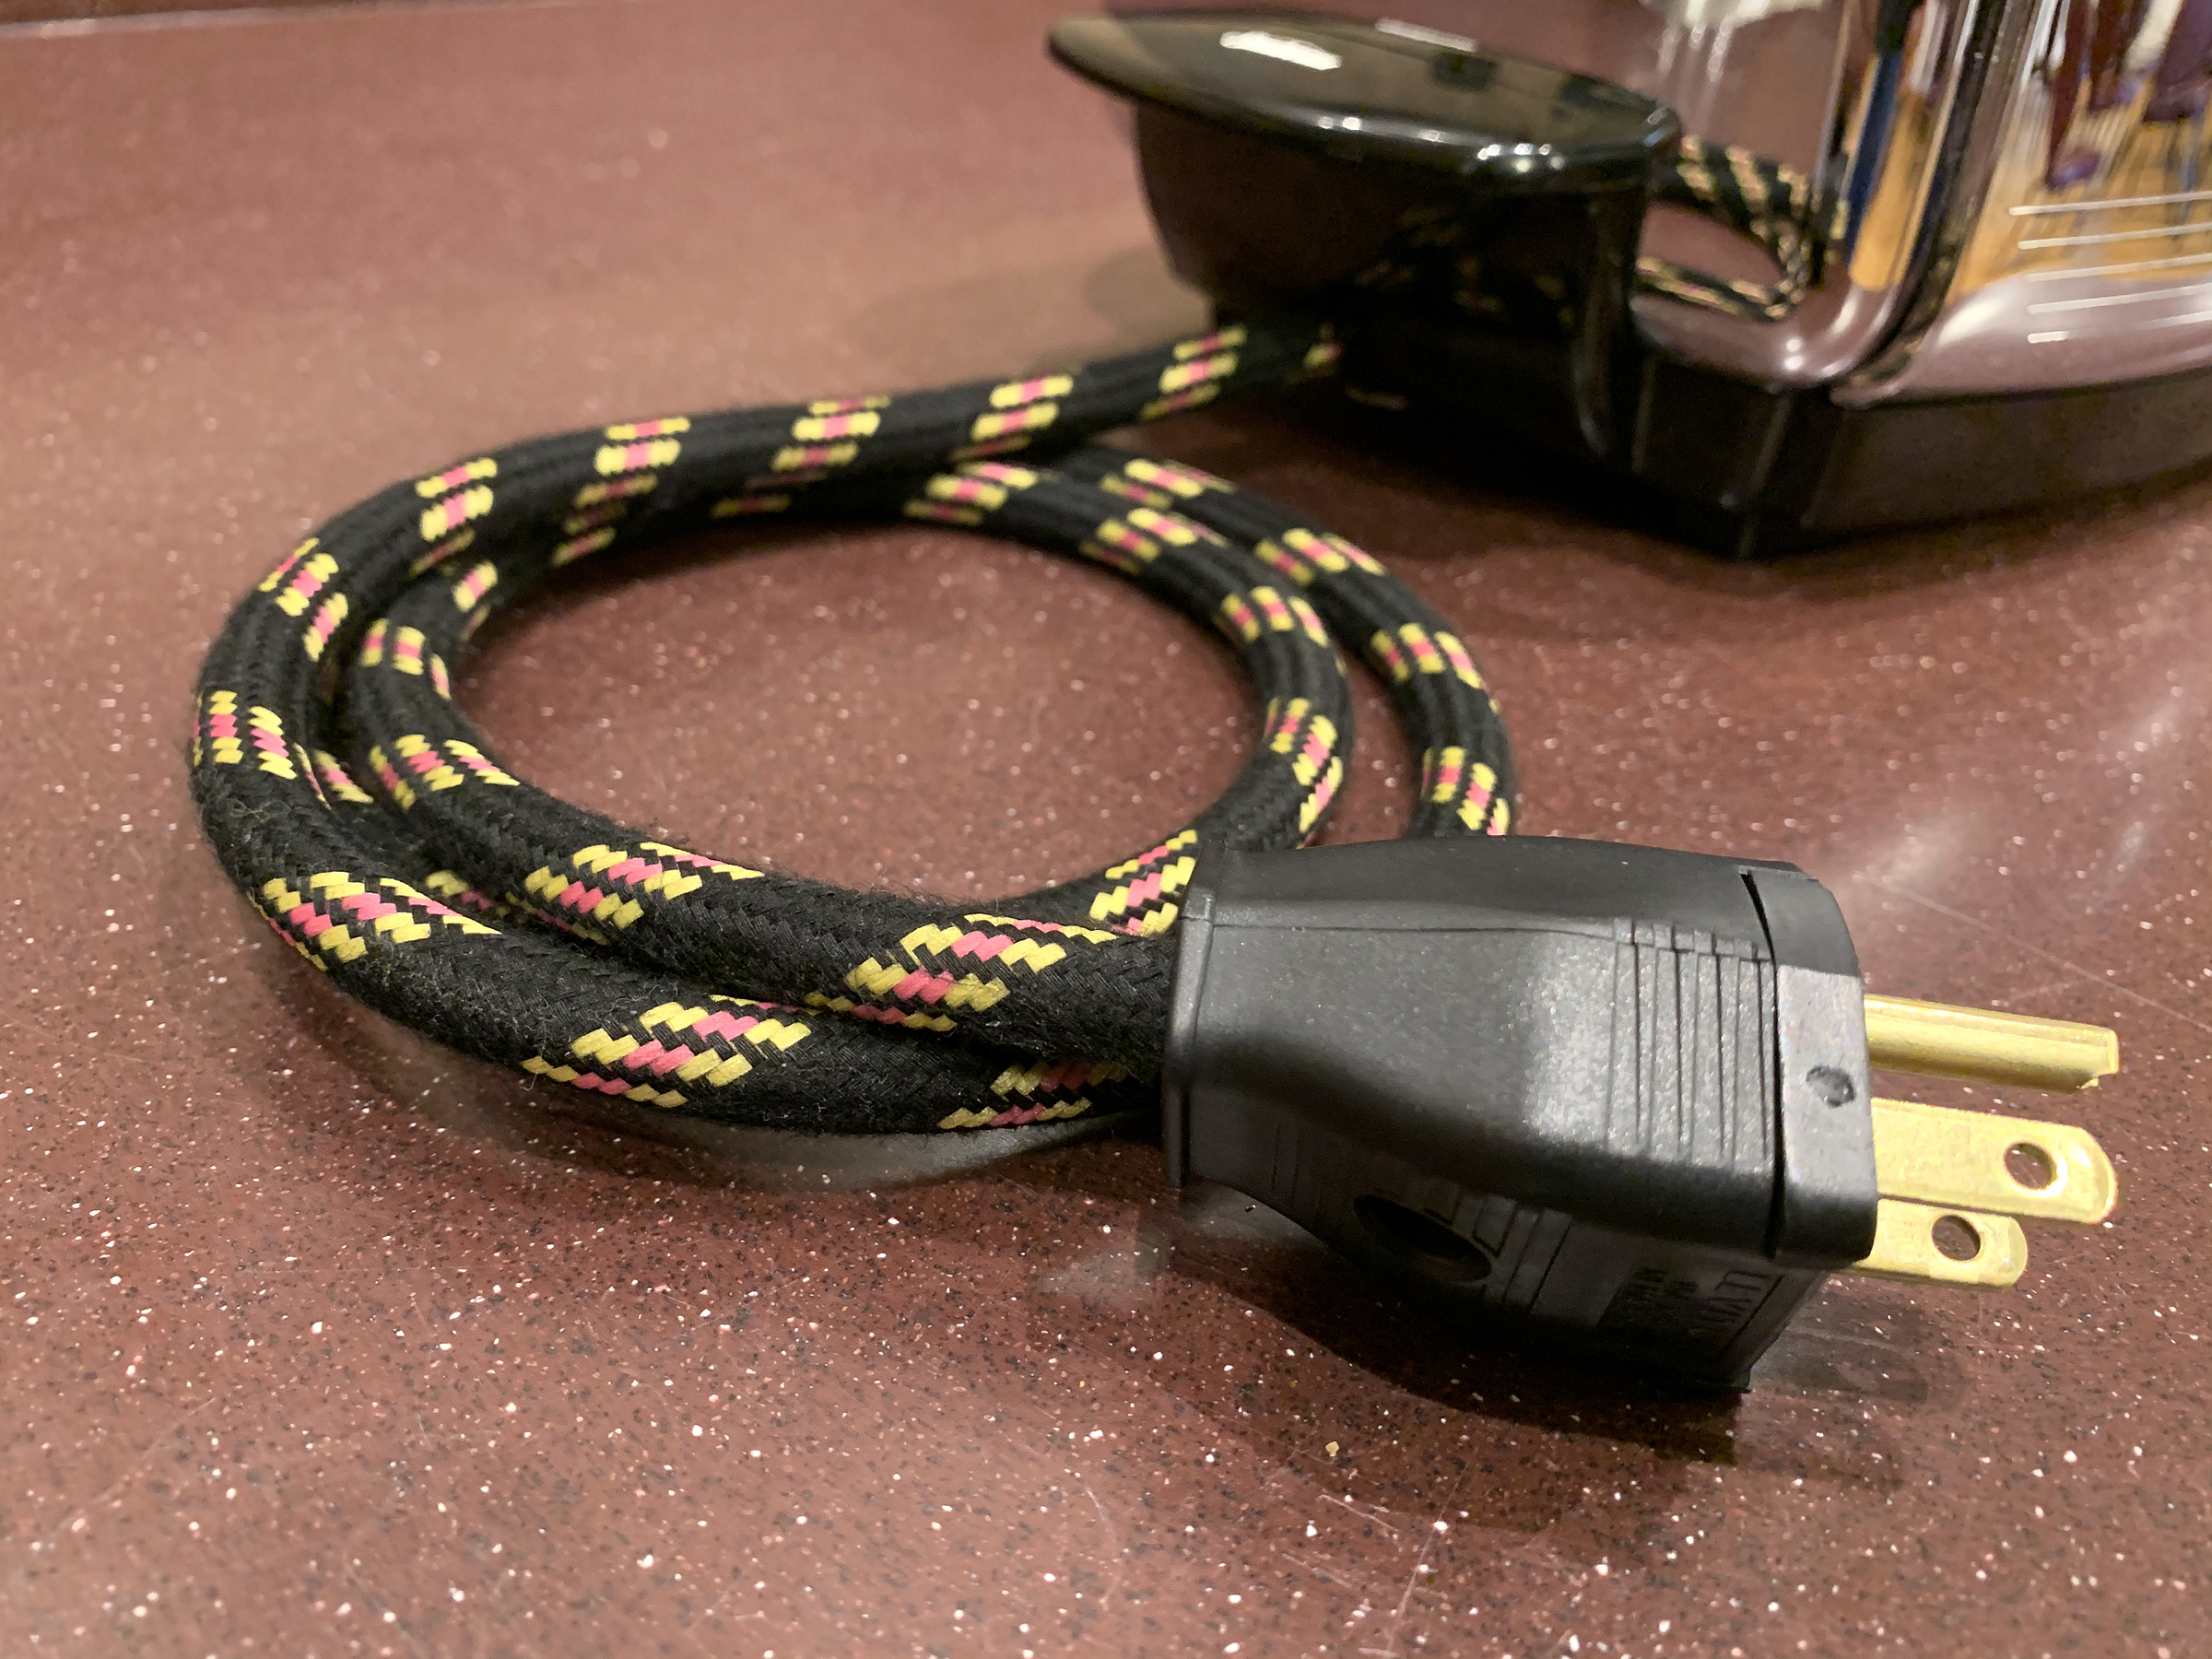
Since May, 2021, all Sunbeam models from 1949 to 1997 have been equipped with grounded, polarized and vintage looking cloth covered cords. I finally had the time to sit down and speak with an electrician to devise a way to install the grounded, polarized and vintage looking cloth cord (like I use on the T-20, T-20-A & T-20-B) on all models that are equipped with the rubber cord. The rubber cord was used on all models from the T-20-C to the end of production in 1997. It took all of about 15 minutes to work this out!
After purchasing an almost new Sunbeam at a local estate sale, the cord looked barely used – it truly looked like brand new. I was finally able to determine the colors that Sunbeam used in the weaving of the original cord. I contacted my wire supplier and asked if their company could weave a custom cloth sleeve over the “modern” wire to match the original Sunbeam pattern. The answer was YES! I sent the original Sunbeam cord to them and indeed, they were able to match the colors and pattern. The cord is larger in diameter than the original because of it being three conductor which is the only difference. This cord has received rave reviews from customers who have sent their Sunbeam’s to me for restoration.
Some of you ask “Why do you replace the cord?” The answer is easy: some are about 70 years old and they are unsafe! I see many of these toasters offered for sale that still have their original asbestos or rubber cords. These toasters were made when polarizing and grounding electrical appliances wasn’t practiced. I think the cord is unsafe by today’s standards. So, I replace the cords. With this new wire, the toaster now is polarized, grounded and I use a heavy duty three-prong plug. These new cords feature a larger 15 gauge wire versus the smaller 16 gauge wire that was standard from Sunbeam.